
Chapter 5: Creating an Exportable Map in QGIS
The Import/Export Menu
If we wish to export a static image of our map without adding any metadata alongside it, we can use the Import/Export menu in QGIS. This option is well-suited to occasions when all you need is a quick screenshot of your map. There is an option to copy your map to your clipboard. There are also options to save your map as an image file or as a PDF.
Copying a Screenshot of a Map
To copy a screenshot of your map,
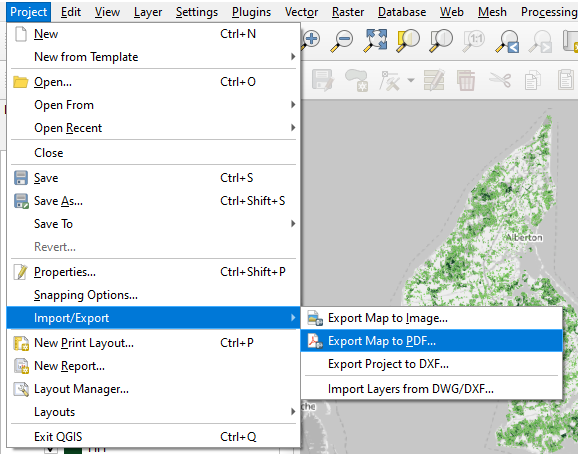
- While viewing a map that you would like to export, click the Project menu.
- Click Import/Export
- Click Export Map to Image
- In the window that pops up, the settings will be set according to the current place to which you have panned and zoomed.
- Click Copy to Clipboard
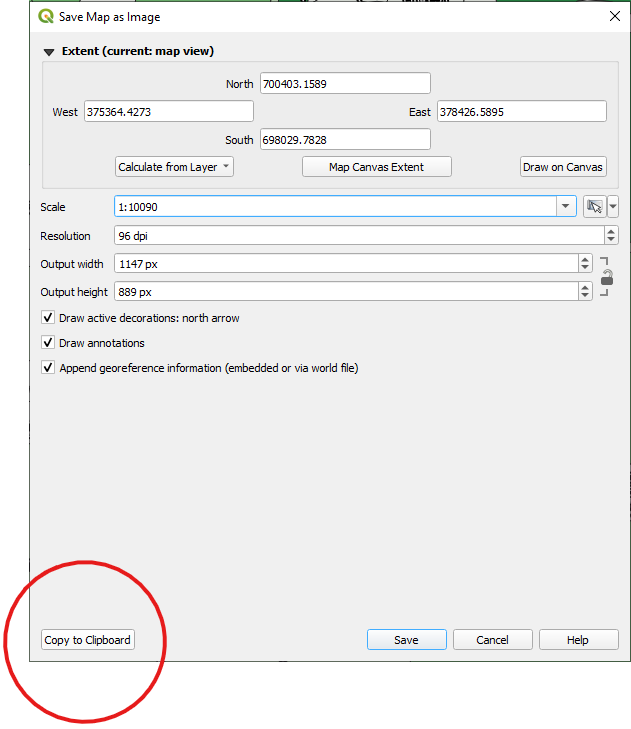
You can now paste your image wherever you would like, such as in a word-processing document or in an email.
Saving a Map as an Image File
If you wish to do essentially what we just did but, instead, save your image as a file,
- While viewing a map that you would like to export, click the Project menu.
- Click Import/Export
- Click Export Map to Image
- In the window that pops up, the settings will be set according to the current place to which you have panned and zoomed. You can leave the settings as they are.
- Click Save
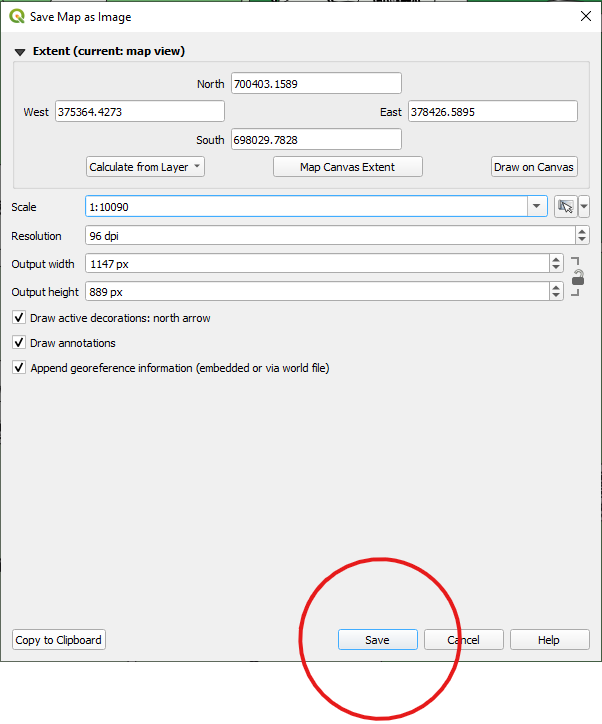
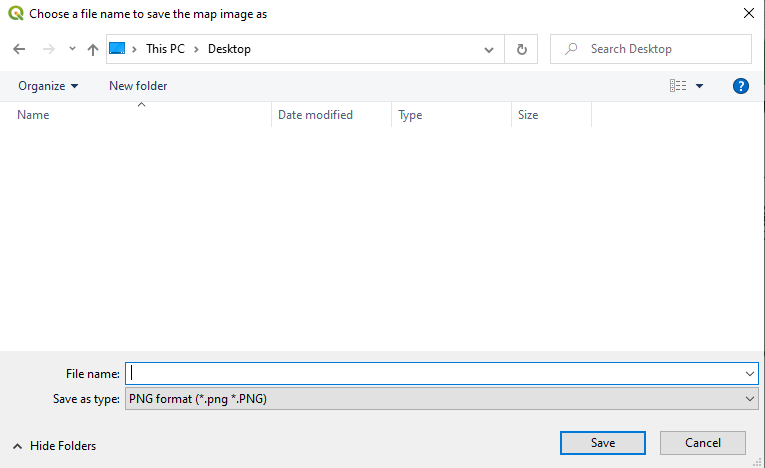
A window will pop up asking us where we want to save our image file.
- Navigate to where you would like to save the file and provide a file name.
Saving a Map as a PDF
To save an image of your map as a PDF,
- While viewing a map that you would like to export, click the Project menu.
- Click Import/Export
- Click Export Map to PDF
- In the window that pops up, the settings will be set according to the current place to which you have panned and zoomed. You can leave the settings as they are.
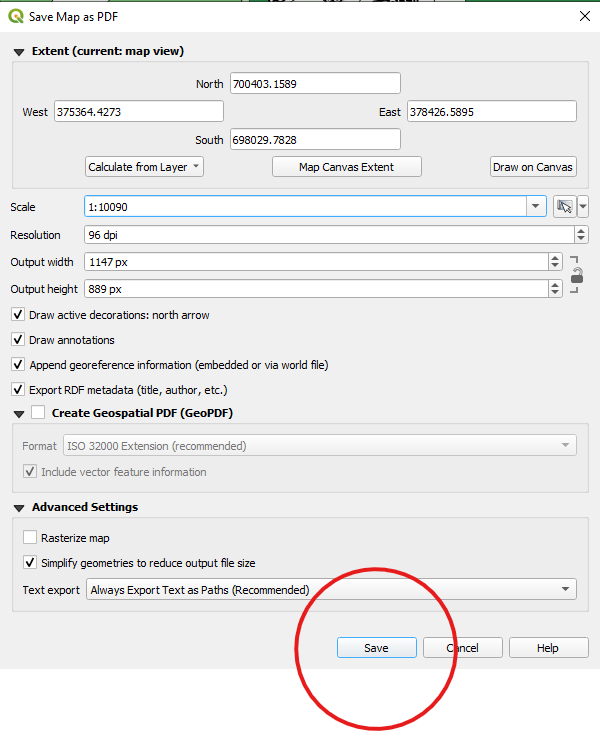
- Click Save
A window will pop up asking us where we want to save our image file.
- Navigate to where you would like to save the file and provide a file name.