Chapter 1: An Introduction to QGIS

Part I A: Downloading and Installing QGIS

This section will walk you through how to identify the appropriate version of QGIS, as well as how to download it and install it on your personal computer.

Note that you must have administrative access to install software on your computer. If you own your personal computer, you would likely have administrator access. If you are using a computer at your school, you may need to contact your administrator in order to download QGIS.

  • Go to QGIS.org and click the “Download Now” button.
Figure 1.1. This image shows the QGIS website which is a free open source geographic information system. On this home page readers are asked to download the operating system that works best for them at the bottom of the page.
Figure 1.1

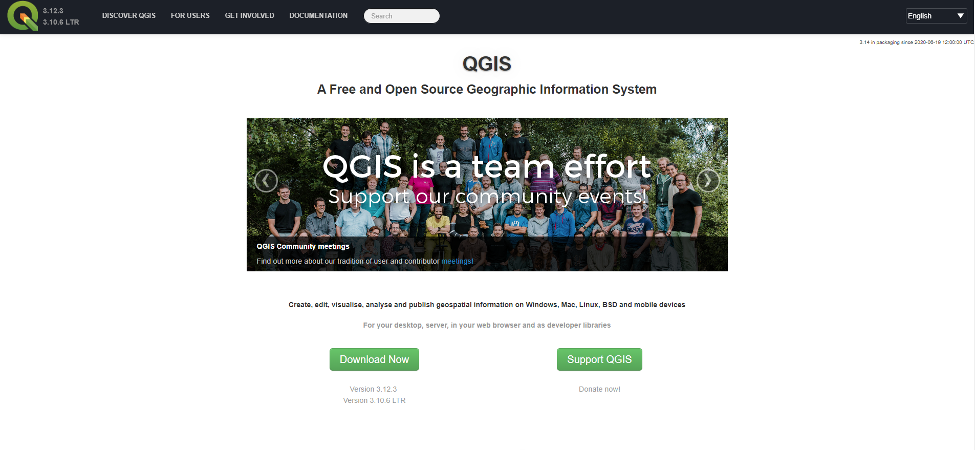
QGIS is available for computers running Windows, macOS, Linux and BSD. (There are also Android apps available for mobile devices.)

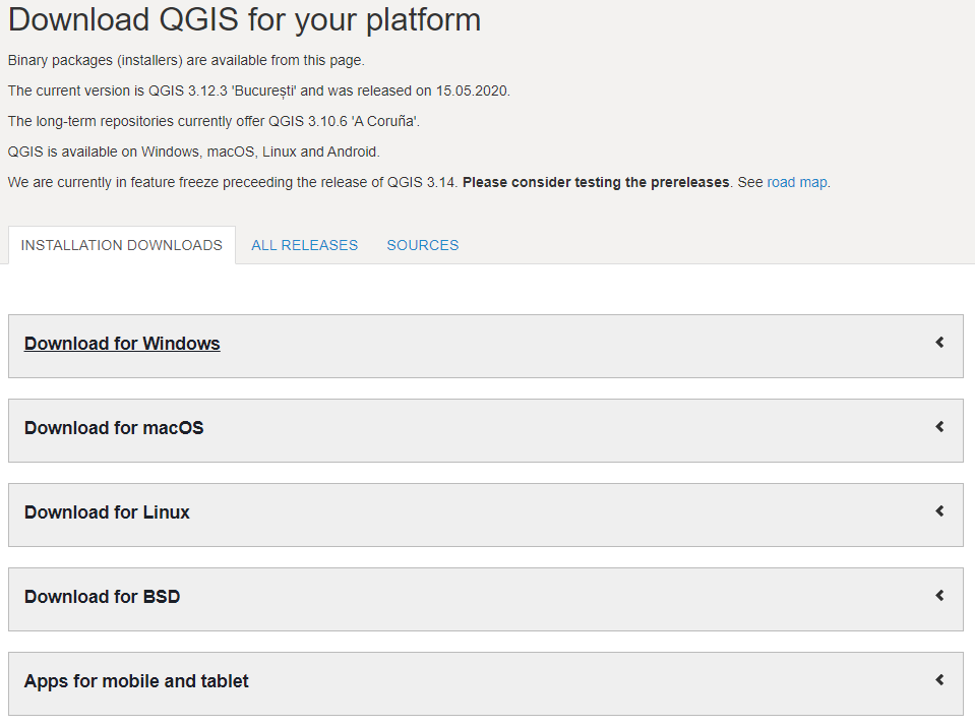
  • Click the LINK to download QGIS for the operating system that you have. In our case, we will click “Download for Windows.”
    • This demonstration is being done on a Windows computer, so the following steps will show the process for Windows users to follow.
Figure 1.2. Multiple links are available for download once download of windows is chosen. These include: Download for Windows, Download for macOS, Download for Linux, Download for BSD, and Apps for mobile and tablet.
Figure 1.2

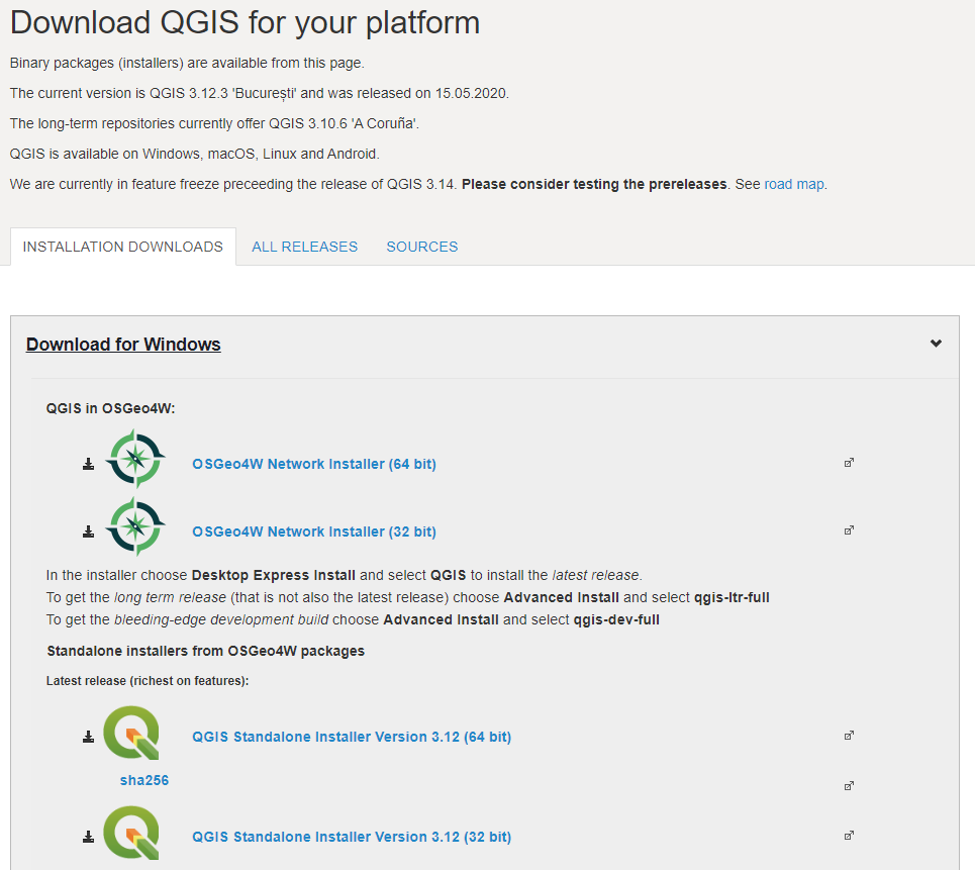
When you click “Download for Windows,” the box will expand. You have multiple download links to choose from.


Figure 1.3. After choosing download for Windows more links will become available to use, the first two links are for Network Installers, Click the “QGIS Standalone Installer” that matches your computer’s architecture. The standalone installers are in the versions 3.12 (64bit) and version 3.12 (32bit).
Figure 1.3a (Windows)

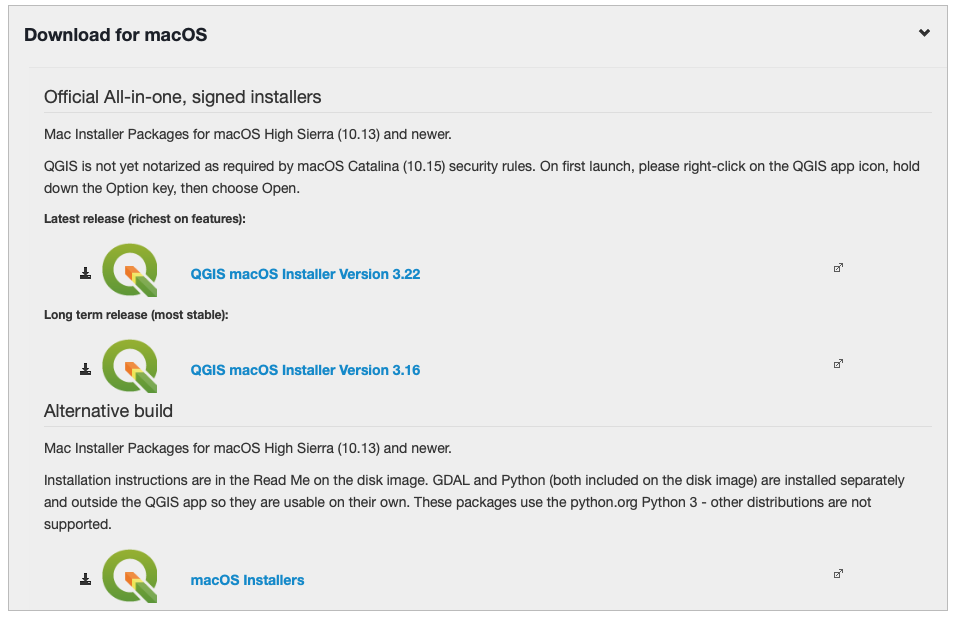
We recommend that new users select the “Long term release (most stable)” version (for Mac users at the time we last updated this part of Chapter 1 it was QGIS macOS Installer Version 3.16).

This is the list of download options for Mac operating system users
Figure 1.3b (Mac)

The first two links are for Network Installers, which will download a complex package of GIS software. They are designed for advanced users. We will go with the much simpler Standalone Installer, which is listed next and which is better suited for beginners.

Note: make sure to download the Standalone Installer that matches your computer’s architecture (64 bit or 32 bit). If you are using a PC that was built after 2005, it most likely has a 64-bit architecture. If you are unsure about your Windows computer’s architecture, you can go to your computer’s Start menu, then Settings, then System, then About. Under “System Type,” it will tell you whether you have a 64-bit operating system.


  • Click the “QGIS Standalone Installer” that matches your computer’s architecture. In our case, we will select 64 bit.
Note: QGIS is constantly being updated, so the version number that you see in this guide’s screenshots may no longer be the most up to date by the time you are reading this textbook.


Note: the installer for QGIS is a large file (roughly 400 MB for Windows and 1.2 GB for Mac) and the download may take some time.


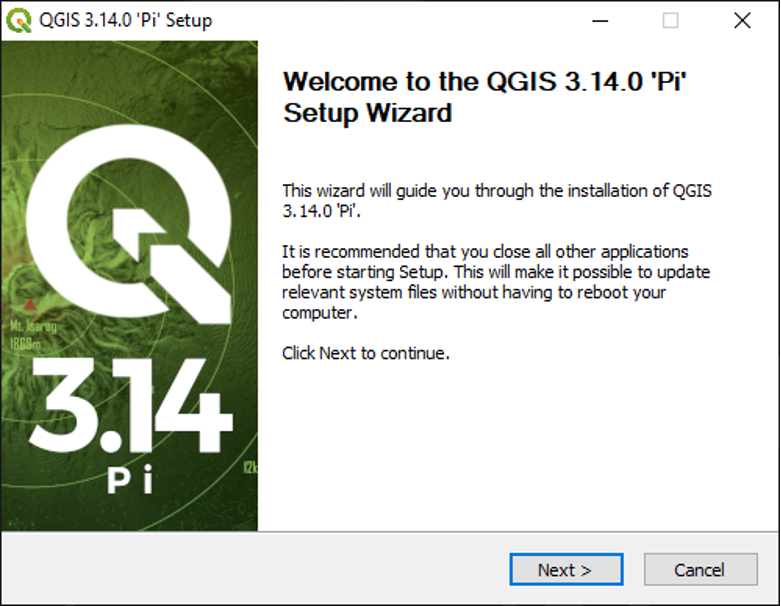
  • Once the download is complete, double-click the Installer to begin.
  • Click Next
Figure 1.4 This image shows the beginning of the startup page for QGIS. To continue the setup the bottom corner “next button will need to be pressed.
Figure 1.4
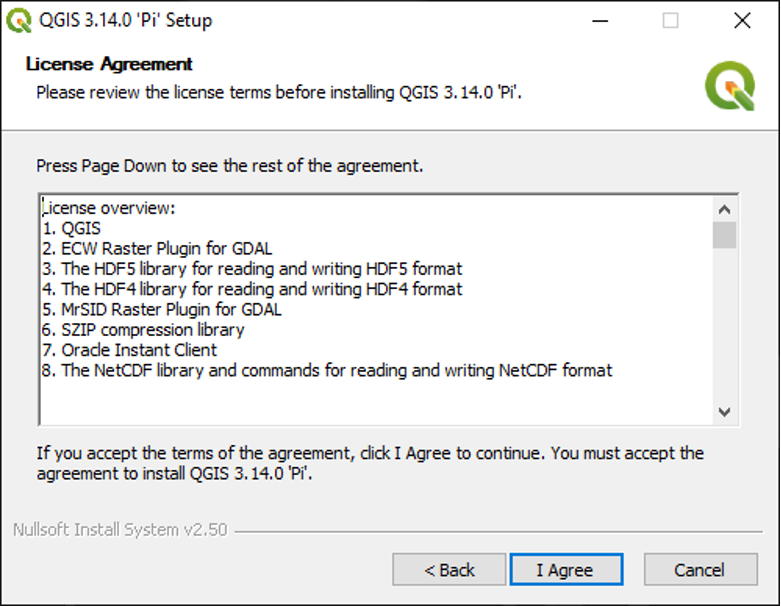
  • Read the License Agreement for QGIS and the components included in QGIS and accept the terms of the agreement to continue.
Figure 1.5 This reviews the license agreement. The overview includes:1. QGIS. 2. ECW Raster Plugin for GDAL. 3. The HDF5 library for reading and writing HDF5 format. 4. The HDF4 library for reading and writing HDF4 format. 5. MrSID Raster Plugin for GDAL. 6. SZIP compression library. 7. Orade Instant Client. 8. The NetCDF library and commands for reading and writing NetCDF format. At the bottom of the page you must choose to either go back, agree to terms of the agreement, or cancel.
Figure 1.5
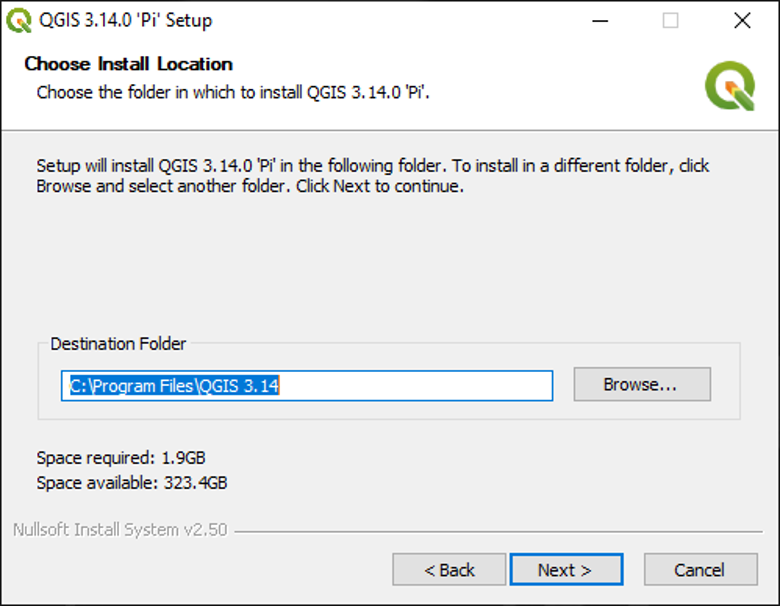
  • Set the install location for QGIS, or keep the default destination, and click Next.
Figure 1.6 This image shows the next screen after the terms of agreement. It allows people to select where it is installed. Select the location by clicking on browse and choosing a location then at the bottom of the page select back, next, or cancel.
Figure 1.6

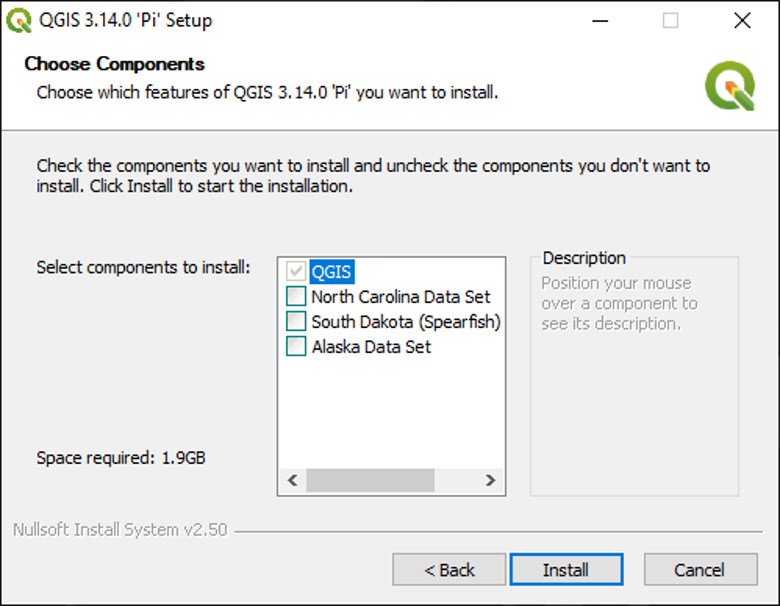
The installer also comes equipped with three sets of sample datasets. Uncheck these, for we will work with our own data.

  • Click Install.
Figure 1.7 This image shows the “Choose Components” screen. This allows you to choose the features you want to install. There is a lost of components(QGIS, North Carolina Data Set, South Dakota(spearfish), and Alaska Data Set) in the image the QGIS component is selected. At the bottom of the page are the options to go back, install, and cancel.
Figure 1.7

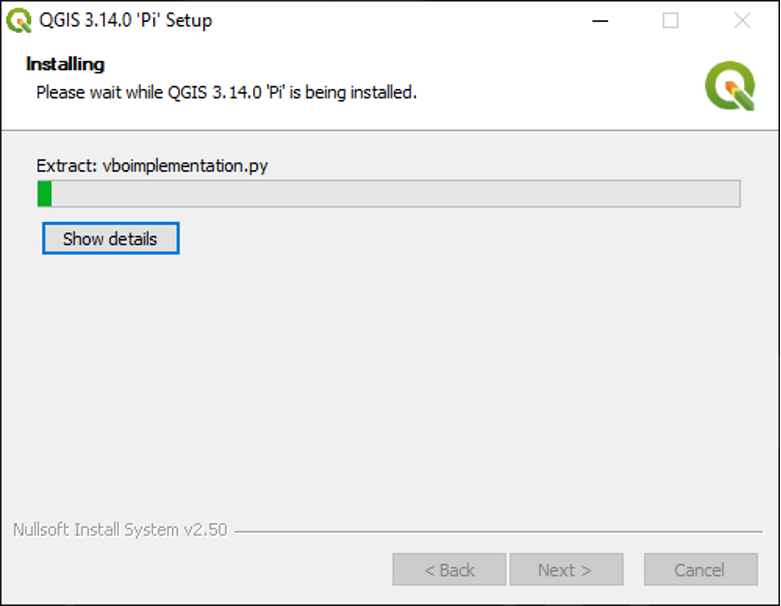
The install is in progress and will take a few minutes to complete.


Figure 1.8 Once the install button is selected the download will occur and the screen will show the progress of the installation as it downloads as this image shows.
Figure 1.8
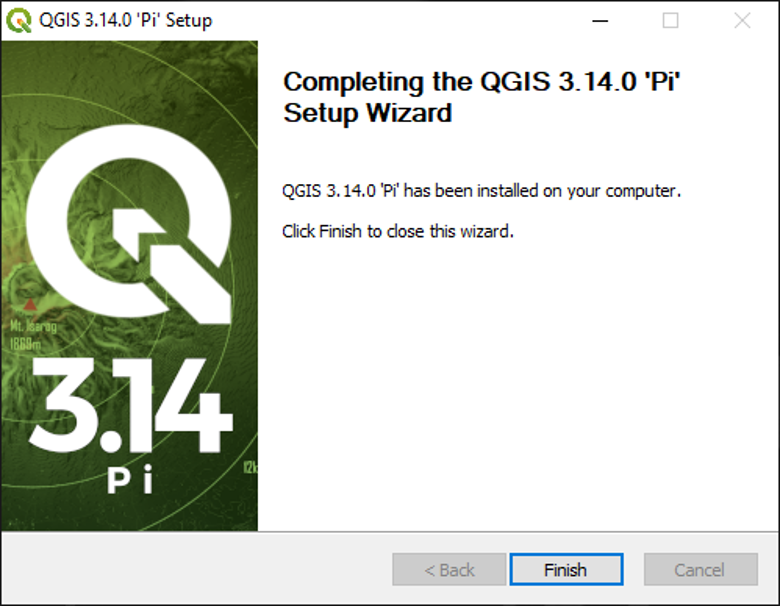
  • Click Finish when the installation is complete.
Figure 1.9 Once the installation is complete at the bottom of the screen it will ask that you select the finish button. After clicking finish the wizard will close.
Figure 1.9

QGIS is now installed, and we are ready to open it.


License

The Geospatial Humanities Copyright © by Joshua MacFadyen; Benjamin Hoy; and Jim Clifford. All Rights Reserved.

Share This Book