Chapter 1: An Introduction to QGIS

Part I B: Opening and Navigating within QGIS

Opening QGIS

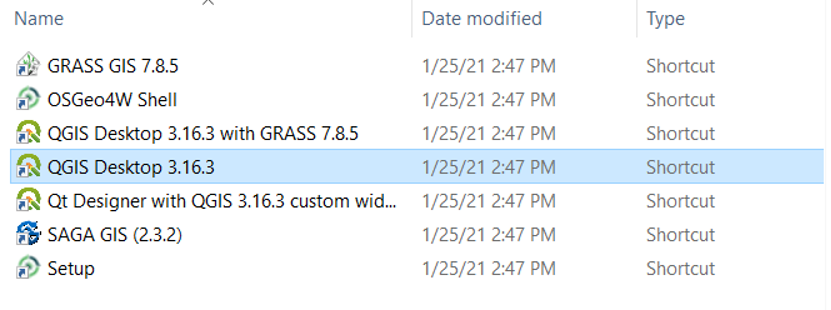
By default, a folder called QGIS is created on your Desktop. If you open it, you will see shortcuts to the QGIS application.

  • Double-click QGIS Desktop
Figure 1.10. The image shows that the QGIS program will now be available on desktop.
Figure 1.10

While QGIS loads, a splash screen similar to the one below will appear.

Figure 1.11. This image shows the startup screen for the QGIS program.
Figure 1.11

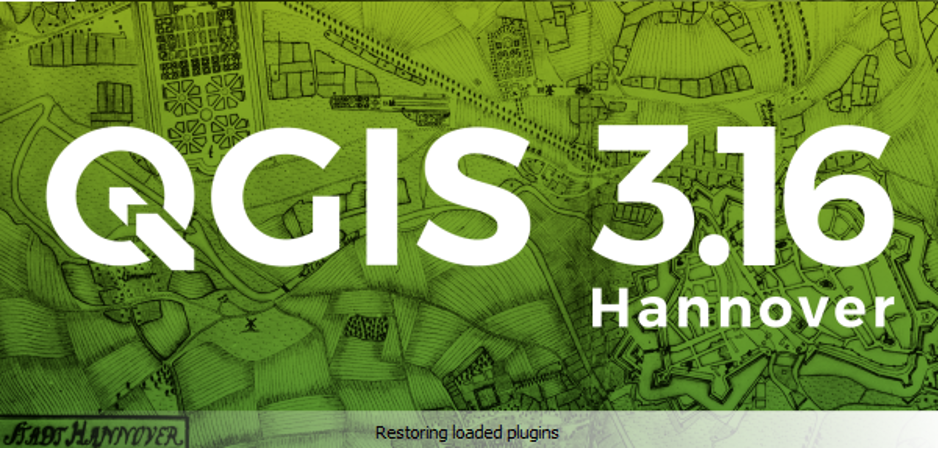
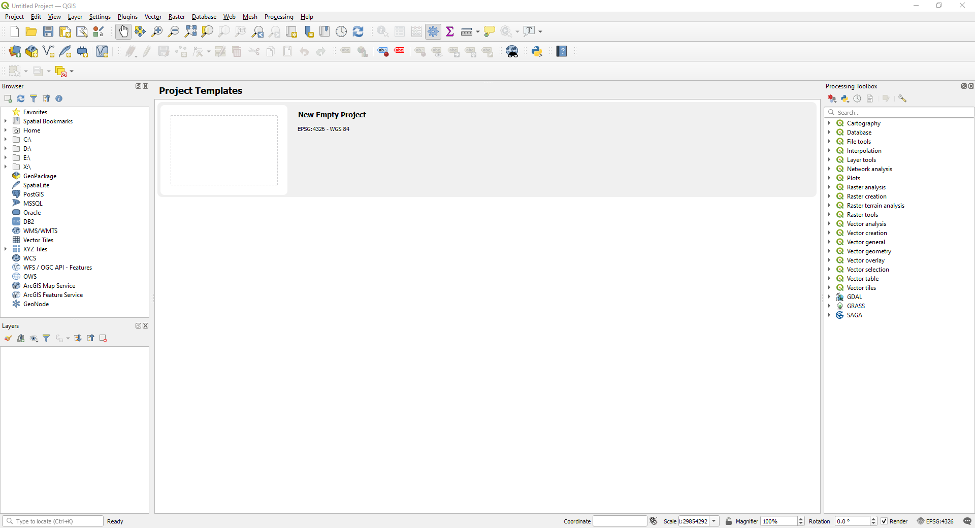
Once the loading is completed, the splash screen will be replaced with the QGIS program itself.

Figure 1.12. The image shows the program once it opens.
Figure 1.12

Navigating within QGIS

These are the four areas of QGIS where we will spend most of our time. Below, we will go through each of these sections.
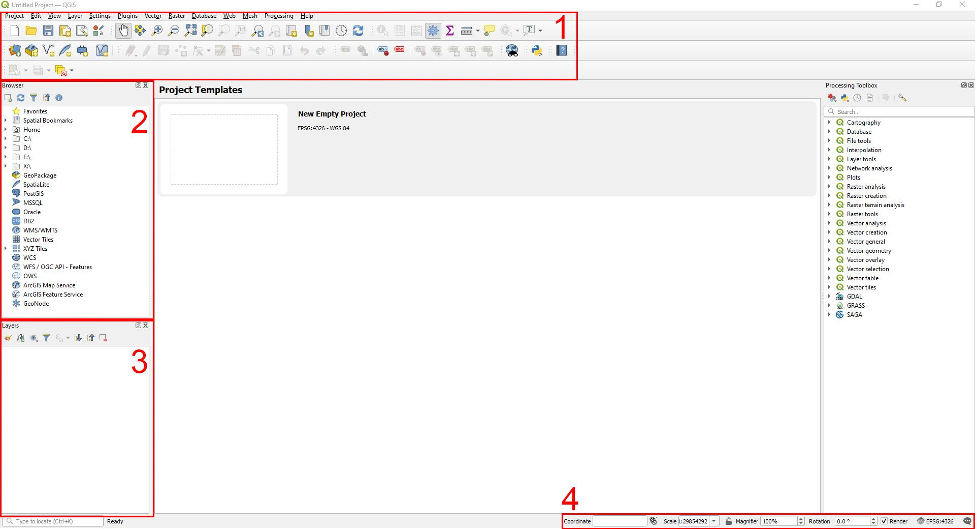
Figure 1.13. This image shows the different sections of the users screen. In the top part of the screen are a bunch of commands that can be chosen from and these are under the title section 1. In section 2 on the upper left hand side of the screen more commands can be found. Underneath section 2, section 3 can be found. Finally, section four can be found on the bottom right hand side of the screen.
Figure 1.13

Area 1

This area contains all the menus and various icons on the toolbars of QGIS. This section is fully customizable, via drag and drop, as well as using the View menu to change the sections of the toolbars. If you hover over the icons on the toolbars, you will get a pop-up that tells you the name of the tool, and its associated keyboard shortcut keys.
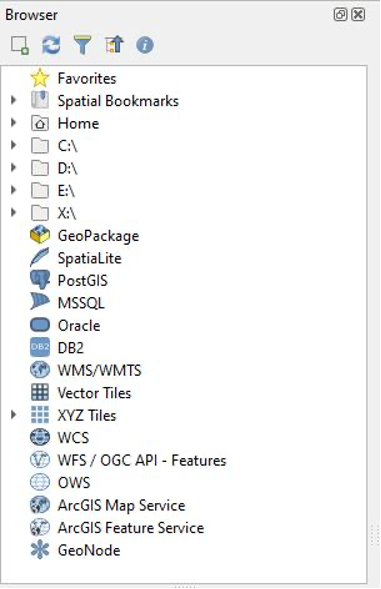
Figure 1.14. This image shows a close up of section 1’s menu controls.
Figure 1.14

Area 2

This is the Browser section of QGIS. This section is where we will get all our layers for our projects. Some will be accessed locally on our computer while others will be accessed through the various additional features of the browser. For example, the XYZ Tiles allows access to the OpenStreetMap layer.
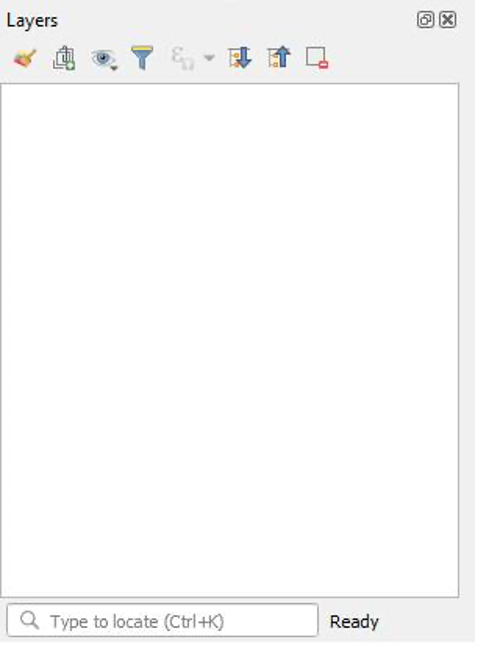
Figure 1.15.The image shows section 2’s browser controls.
Figure 1.15

Area 3

This is the Layers section, which is sometimes referred to in this book as the table of contents. This is where all active or inactive layers that have been added to the project will be. Here you will be able to change their opacity, colouring, contrast or brightness, along with the hierarchy of your layers.

Figure 1.16. This image shows section 3’s layers controls.
Figure 1.16

Area 4

At the bottom of the screen, we can see the Coordinates for Geoinformation, the Scale of the map, the Zoom or Magnifier, the Rotation, and the coordinate reference system (CRS). These are useful for navigating your maps and data precisely.

Figure 1.17. This image shows section 4’s Coordinates for Geoinformation controls. From left to right the controls are; coordinate, scale, magnifier, rotation, render.
Figure 1.17
Tip: you can drag and drop most elements of the interface in QGIS. For example, you can left-click and hold on the Layers header and, when the Browser view turns blue, drop it over the top of the Browser window.


Tip: if you accidentally close a window panel, you can close/open certain panels any time by navigating to View > Panels > and then selecting the boxes you wish to view.
Figure 1.18. This image shows the ability to drag and drop the layers controls in different areas. When it is being moved the background of the screen will look blue.
Figure 1.18

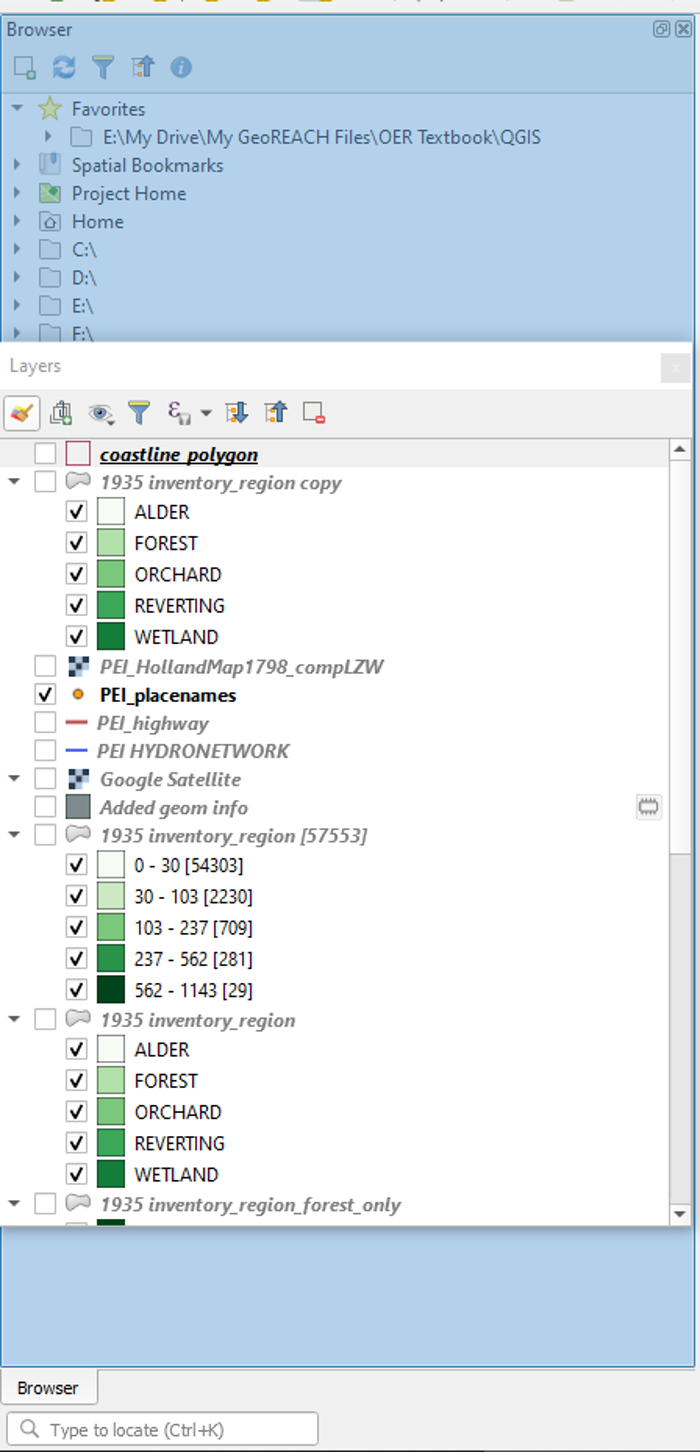
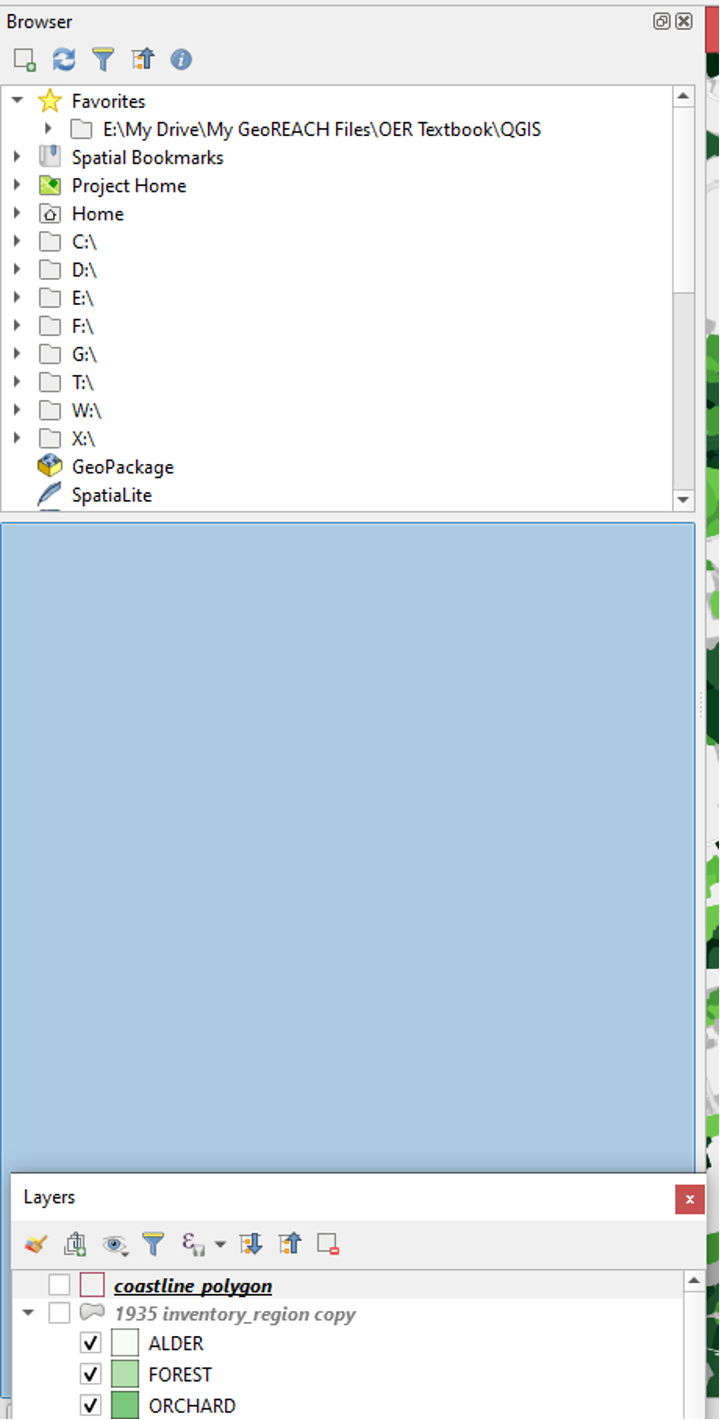
This will allow you to toggle between the Browser and the Layers table of contents by clicking on their respective tabs in the bottom-left of the QGIS window.

Figure 1.19. At the bottom of the left hand side of the screen it will show what panels are open at the same time that can be toggled through.
Figure 1.19

If you wish to have the Browser and Layers views viewable at the same time, you can click the undock button.

Figure 1.20. This image displays the ability to undock the image which will allow for both the layers panel and browser to be open at the same time. The button for this is on the upper right hand side of the layers controls just before the x button.
Figure 1.20

Then, you can drag and drop the Layers view underneath the Browser view again.

Figure 1.21. This shows how the two panels look set up with the layers panel undocked.
Figure 1.21

License

The Geospatial Humanities Copyright © by Joshua MacFadyen; Benjamin Hoy; and Jim Clifford. All Rights Reserved.

Share This Book