Chapter 2: Data Management, Symbols, and Styles in QGIS

Part I: Copying a Project

Creating a Copy of a Project

We will begin by learning how to copy our project from Chapter 1. This will allow us to build upon the work that we have already done.

Tip: Good digital humanities projects should always keep future compatibility and collaboration in mind. By designing your GIS project with good data management practices, you will be able to find and open your files when you need them, and it will be easier to share your project with collaborators.

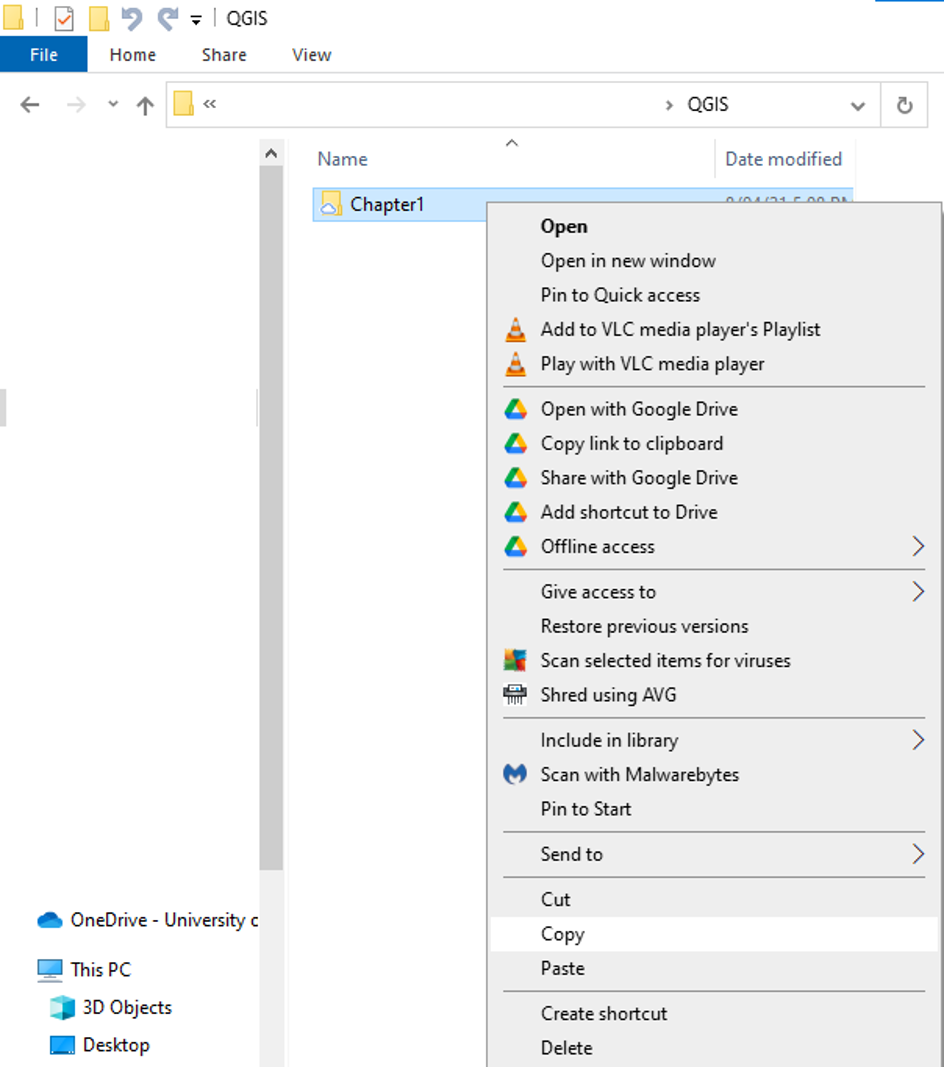
  • Within the QGIS folder that we created in Chapter 1, there is a folder called Chapter1.
    Using Windows Explorer, right-click the folder called Chapter1.
  • Click Copy
Figure 2.1. From the QGIS folder click on Chapter 1 and copy it.
Figure 2.1


Figure 2.2. After pasting the copy of Chapter 1 right clicking on the Chapter 1 file. This image shows the pop-up that will allow you to paste the Chapter 1 - Copy. The paste choice is the sixth option.
Figure 2.2

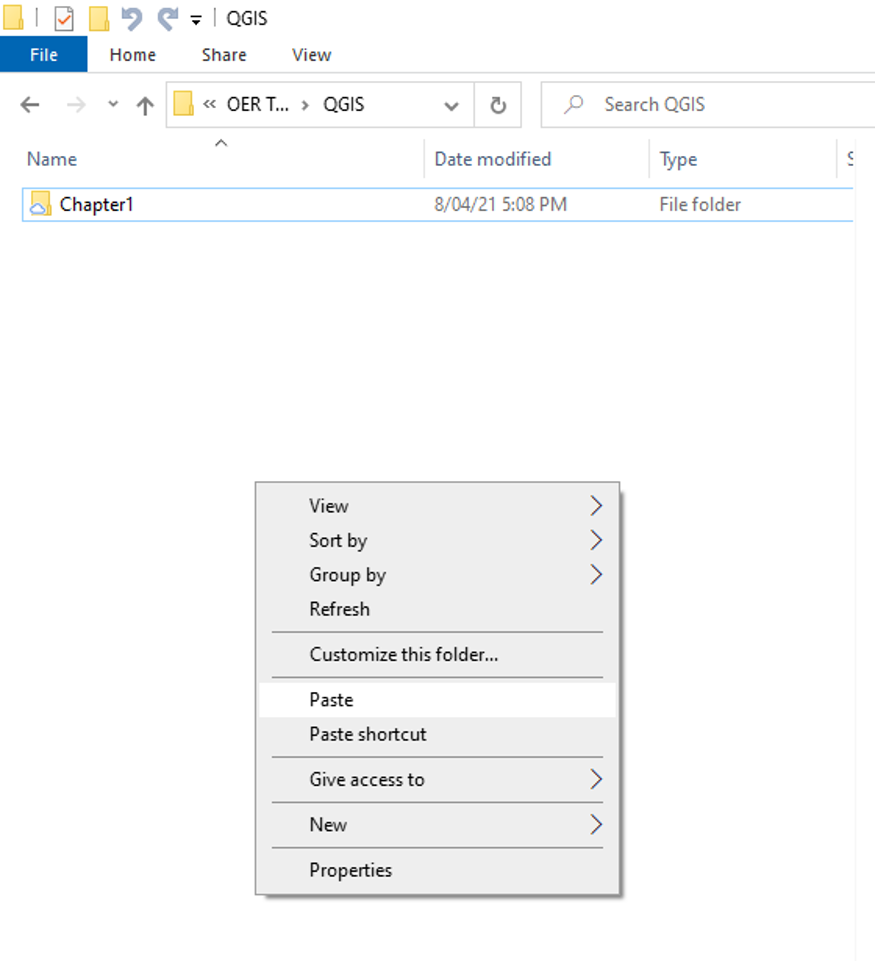
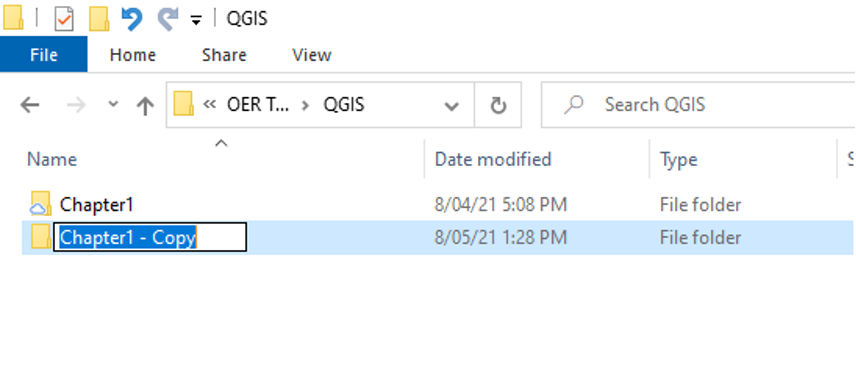
This will create a folder called Chapter1 – Copy.

  • Right-click the folder called Chapter1 – Copy
  • Click Rename
  • Type in Chapter2
  • Press Enter on your keyboard
Figure 2.3. This shows that right clicking on the new file will put the name in a box and highlight it so it can be changed.
Figure 2.3

We will now open the new Chapter2 folder and rename the project file inside.

  • Double-click on the folder called Chapter2
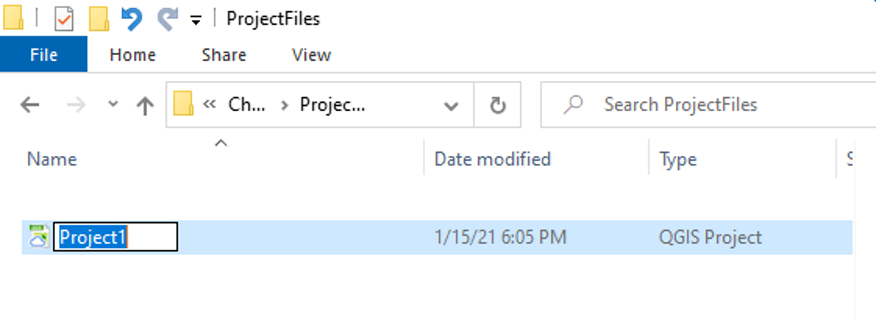
  • Double-click on the folder called ProjectFiles
  • Right-click on the QGIS project file called Project1
  • Click Rename
  • Type in Project2
  • Press Enter on your keyboard
Figure 2.4. This shows the file name being changed to “Project1”.
Figure 2.4
Note: if we had simply opened the Project1 project file and used Save As to create a copy of it named Project2, we would only be creating a copy of the project file. We would not be creating duplicate copies of the layer data that the project file references. In fact, this hypothetical Project2 file would reference the layer data of the original Project1 project file from which it was copied. The problem here is that this layer data is stored with the Project1 file and not with the Project2 file. We need all of our data (i.e., layer files and the project file) stored in the same parent folder (e.g., Chapter2) so that we can zip this folder and share it with others. It also is critical to have all of our data in the same folder for another reason: if we ever deleted the Chapter1 folder and then tried to open Project2, it would not work because the layer data that Project2 is trying to open has now been deleted.

Opening a Copied Project

  • Double click on the freshly renamed Project2 file to open it in QGIS.

QGIS will now open all of the work you did in Chapter 1. We can reuse some of this work in this chapter so that we do not have to start from scratch.

Note: if you have not completed Chapter 1, you will have to go to that chapter to set up Project1 before you can copy Project1 to create Project2. Chapter 1 shows you how to create Project1. It includes links to download all of the data you need and instructions on how to import it to QGIS.


License

The Geospatial Humanities Copyright © by Joshua MacFadyen; Benjamin Hoy; and Jim Clifford. All Rights Reserved.

Share This Book