
Chapter 1: An Introduction to QGIS
Part I C: Starting Your First GIS Project
We are now ready to start a Project and start getting familiar with the features of QGIS. Our first GIS Project will focus on Prince Edward Island, and we will create a detailed map of the Island with a variety of datasets.
Saving the Project and Creating a Folder Structure
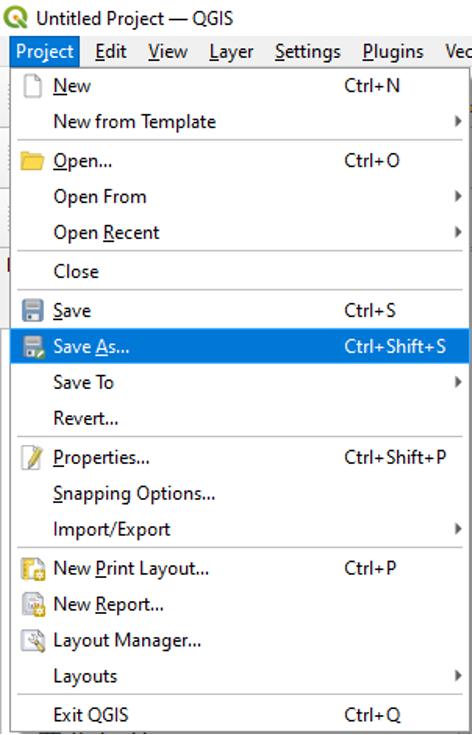
- Click Project
- Click Save As
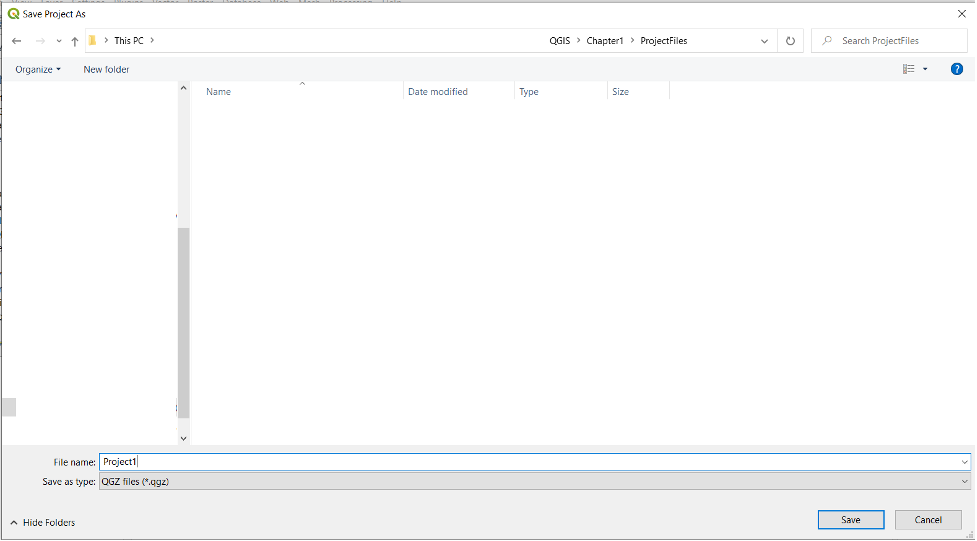
- Create a new folder in your Documents folder and call it QGIS.
- Create a new folder within the QGIS folder called Chapter1.
- Create a new folder within Chapter1 folder and call it Data.
- Create a new folder within Chapter1 and call it ProjectFiles.
- Save your project in this ProjectFiles folder. Name your project Project1.qgz.
A Note about How a GIS Application Saves Your Work
When you work with a GIS application like QGIS, you are using files in a different way than if you used a program such as Microsoft Word, for example. In Word, when you save a document, a single file is saved, and this contains everything that you wrote. All you need to do to reopen your Word document is to open this one file.
However, QGIS often operates differently. In many cases, the mapping work that you are doing in QGIS is stored in many different files. QGIS allows you to open all of these files simultaneously alongside each other in the same window. This allows you to interact with them all at once. The QGIS project file that we save is essentially a set of instructions that tell QGIS which layers we would like it to open and how we would like them displayed.
Moving Your Work
So, if we wish to move a project from one hard drive to another, we cannot simply migrate the project file. Again, the project file is only a set of instructions. It does not include any layers. When moving a project, we must move the parent folder and everything in it, including the project file and the layer files.
To move a parent folder efficiently, we can zip it and then send it. Before using the folder in its new location, we would unzip it first. We would then be free to open the project file, and QGIS will open all of our layers.
The exception to all of this is what is known as a GeoPackage. This file type allows you to save all of your layers and project file within one GeoPackage file (.gpkg). You can then share the work you have done in QGIS by sending this one file to another hard drive. You do not need to zip and send the entire parent folder. The GeoPackage offers a promising solution to sharing the work you do in a GIS application, and we will show you how to use it in Part II, Chapter 6: Creating and Sharing a GeoPackage. However, much of the work done in GIS applications is still done by using multiple files, including a project file and layer files, which are stored in a parent folder. So, for now, we will stick to this common practice.
To share the work you have done in QGIS (without using a GeoPackage),
- In Windows Explorer, navigate to the Chapter1 folder that we created earlier.
- Right-click the Chapter1 folder.
- Click Send to
- Click Compressed (zipped) folder
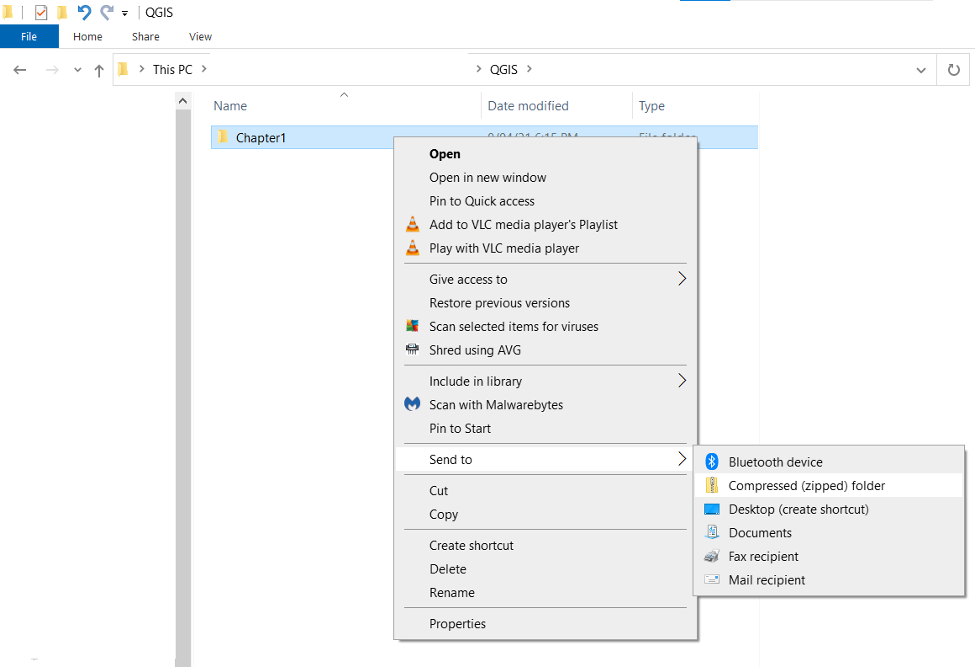
A zipped folder with the same name will appear.

You can now upload this zipped folder to Google Drive or OneDrive and share it from there. Make sure to instruct the person who will be opening it that they must first download the folder and extract it. Once the folder is extracted, you can open the ProjectFiles folder and double-click the project file called Project1. QGIS will then open all of our layers.